
 Sales:
 Sales:
To change the nameservers for a domain registered with ResellerClub, you will typically need to access the domain management section of your ResellerClub account. Here is a step-by-step guide on how to change nameservers:
-
Log in to your ResellerClub account: (Best VPS provider)
Visit the ResellerClub website and log in using your credentials. -
Access Domain Management:
Once logged in, locate the option to manage your domains. This option is usually found in the main menu or dashboard of your account. -
Select the Domain:
Find the specific domain for which you want to change the nameservers and select it. This action will take you to the domain management page. -
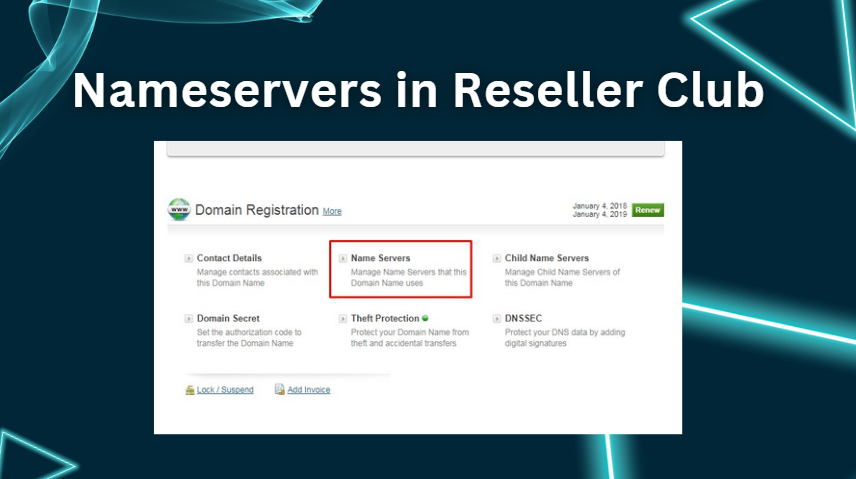
Find Nameserver Settings: (Free Windows VPS Server)
Look for an option related to nameservers or DNS settings. The exact wording may vary, but it should be similar. -
Enter New Nameservers:
Within the nameserver settings, you will find fields where you can enter the new nameservers. Typically, you will have the option to enter two or more nameservers. Enter the new nameserver information provided by your hosting provider. -
Save Changes: (Best Web Hosting in India)
After entering the new nameserver information, locate a “Save” or “Update” button and click on it to save your changes. -
Propagation:
It is important to note that it may take some time for the new nameserver information to propagate across the internet. This process can take up to 48 hours, during which time your website and email services may experience some downtime. -
Confirmation:
Once the changes have propagated, your domain will be using the new nameservers you have specified. (Low cost VPS hosting)
By following these steps, you will be able to successfully change the nameservers for your domain registered with ResellerClub.