
 Sales:
 Sales:
Cyber Panel is a powerful and user-friendly control panel that simplifies the process of setting up and managing websites on a VPS. Follow these steps to set up and configure your website using Cyber Panel.
Step 1: Install Cyber Panel on Your VPS. (Best VPS provider)
Before you can start setting up your website, you need to have Cyber Panel installed on your VPS. If you haven’t done this yet, follow these steps:
Access Your VPS via SSH
Use an SSH client like Putty to connect to your VPS.
Run the Cyber Panel Installation Script
Execute the following commands to download and run the Cyber Panel installation script:
# [ sudo su -sh <(curl https://cyberpanel.net/install.sh || wget -O – https://cyberpanel.net/install.sh) ]
Follow the Installation Prompts
Follow the on-screen instructions to complete the installation. You will be asked to choose options like whether to install Cyber Panel with OpenLiteSpeed or LiteSpeed Enterprise.
Access Cyber Panel.
Once installed, access Cyber Panel by navigating to https://<your-vps-ip>:8090 in your web browser.
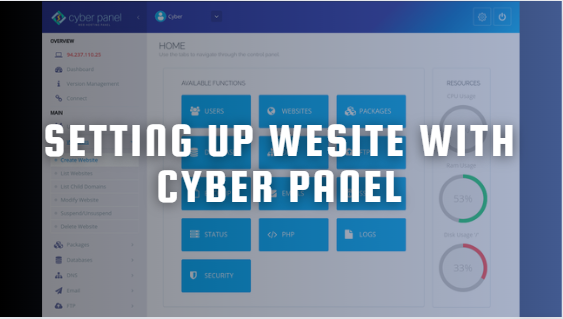
Step 2: Log in to Cyber Panel.
Log in with Admin Credentials.
Use the admin credentials you set during the installation process to log in to Cyber Panel.
Familiarize Yourself with the Dashboard.
Explore the dashboard to get a sense of the available features and options.
Step 3: Create a New Website. (Best Web Hosting in India)
Navigate to Websites.
In the left-hand menu, click on “Websites” and then select “Create Website.”
Fill in the required details:
Select Package: Choose a package if you have set up different hosting plans.
Select Owner: Choose the owner for the website, typically the admin user.
Domain Name: Enter the domain name for your website.
Email: Provide an email address for administrative purposes.
PHP Version: Select the PHP version you want to use for this website.
Click the “Create Website” button to set up the new website. (Low cost VPS hosting)
Step 4: Manage DNS Settings.
DNS Management.
Navigate to “DNS” in the left-hand menu and click on “Create DNS Zone.”
Enter your domain name and click “Create DNS Zone.”
Add DNS Records.
Add the necessary DNS records (A, CNAME, MX, etc.) for your domain.
Step 5: Install SSL Certificate.
Navigate to SSL.
In the left-hand menu, click on “SSL” and then select “Manage SSL.”
Issue an SSL Certificate.
Select your domain from the list and click on “Issue SSL.” Cyber Panel uses Let’s Encrypt to issue free SSL certificates.
Verify SSL Installation. (dedicated server hosting)
Ensure that the SSL certificate is properly installed and your website is accessible via HTTPS.
Step 6: Install Applications (Optional).
One-Click Installations.
Navigate to “Web Applications” in the left-hand menu and select the application you want to install (e.g., WordPress).
Follow Installation Prompts.
Fill in the required details for the application installation, such as the admin username, password, and database details.
Complete the Installation.
Click “Install” and wait for the installation to complete. Access your newly installed application via your domain.
Step 7: Configure Email Accounts.
Navigate to Email.
In the left-hand menu, click on “Email” and then select “Create Email.”
Create Email Accounts. (Free Windows VPS Server)
Fill in the required details to create new email accounts associated with your domain.
Manage Email Settings.
Configure email forwarding, auto-responders, and spam protection as needed.
Step 8: Optimize and Secure Your Website.
Enable Security Features.
Navigate to “Security” in the left-hand menu and configure the firewall, set up malware scanning, and manage other security settings.
Optimize Performance.
Use caching, database optimization, and other performance-enhancing tools provided by Cyber Panel.
Schedule Regular Backups. (Free VPS Provider in India)
Navigate to “Backups” in the left-hand menu and set up regular backups for your website to ensure data safety.
By following these steps, you can efficiently set up and configure a website using Cyber Panel, ensuring it’s secure, optimized, and ready to handle your traffic. Cyber Panel’s intuitive interface and robust feature set make it an excellent choice for both beginners and experienced users.