
 Sales:
 Sales:
Step 1: Connect to Your Server
a. Open PuTTY on your local machine.
b. Enter your server’s IP address in the “Host Name (or IP address)” field.
c. Set the connection type to “SSH.”Click “Open” to initiate the connection.
Step 2: Log in to Your Server
a. Enter your username and password when prompted. Make sure you have root access or the necessary privileges to b. install software and configure Apache.
Step 3: Update Packages
a. Ensure your server’s package list is up-to-date by running the following commands:
#sudo apt update
#sudo apt upgrade -y
Step 4: Install Certbot
a. Certbot is a tool for managing SSL certificates. Install Certbot and the Apache Certbot plugin:
#sudo apt install certbot python3-certbot-apache
Step 5: Obtain SSL Certificate
a. Run Certbot to obtain and install the SSL certificate. Replace your_domain with your actual domain:
#sudo certbot –apache -d your_domain
Certbot will prompt you to enter an email address for renewal notifications and agree to the terms of service.
Step 6: Configure SSL
Certbot will automatically configure your Apache server to use the newly obtained SSL certificate. Once the process is complete, Certbot will display a success message.
Step 7: Verify SSL Configuration
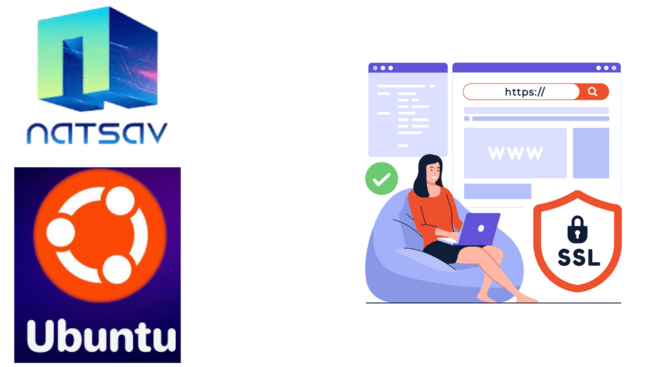
Test your SSL configuration by visiting https://your_domain in a web browser. Ensure that your website loads securely with the padlock icon in the address bar.
Congratulations! Your Apache server is now configured with SSL, providing a secure connection for your website.