
 Sales:
 Sales:
1. Access CyberPanel: Log in to your CyberPanel dashboard.
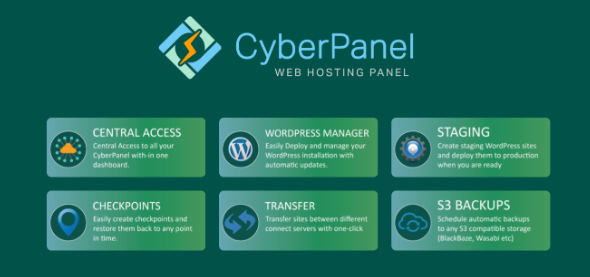
Navigate to Backup in Cyberpanel: Look for a section or tab related to backups. This may be labeled as “Backups,” “Backup Management,” or something similar.
2. Configure Backup Settings:
Look for an option to set up automated backups. This could be named “Scheduled Backups” or similar.
Specify the frequency of backups (daily, weekly, etc.) and the time of day when the backup should occur.
3. Select Backup Content:
Choose what content you want to include in the backups. This might include website files, databases, email configurations, etc.
4.Set Backup Destination:
Specify where you want the backups to be stored. This could be on the server itself or an external location such as FTP, SFTP, or a cloud storage service.
5.Configure Retention Policy:
Decide how many backup copies you want to retain. CyberPanel might have an option to automatically delete older backups to save space.
6.Save or Apply Changes:
Once you’ve configured the backup settings, save or apply the changes. This is usually done by clicking a “Save” or “Apply” button.
7.Verify Backups:
It’s a good practice to verify that your backups are being created successfully. Check the backup logs or run a manual backup to ensure everything is working as expected.